Mary Berry fairy cakes
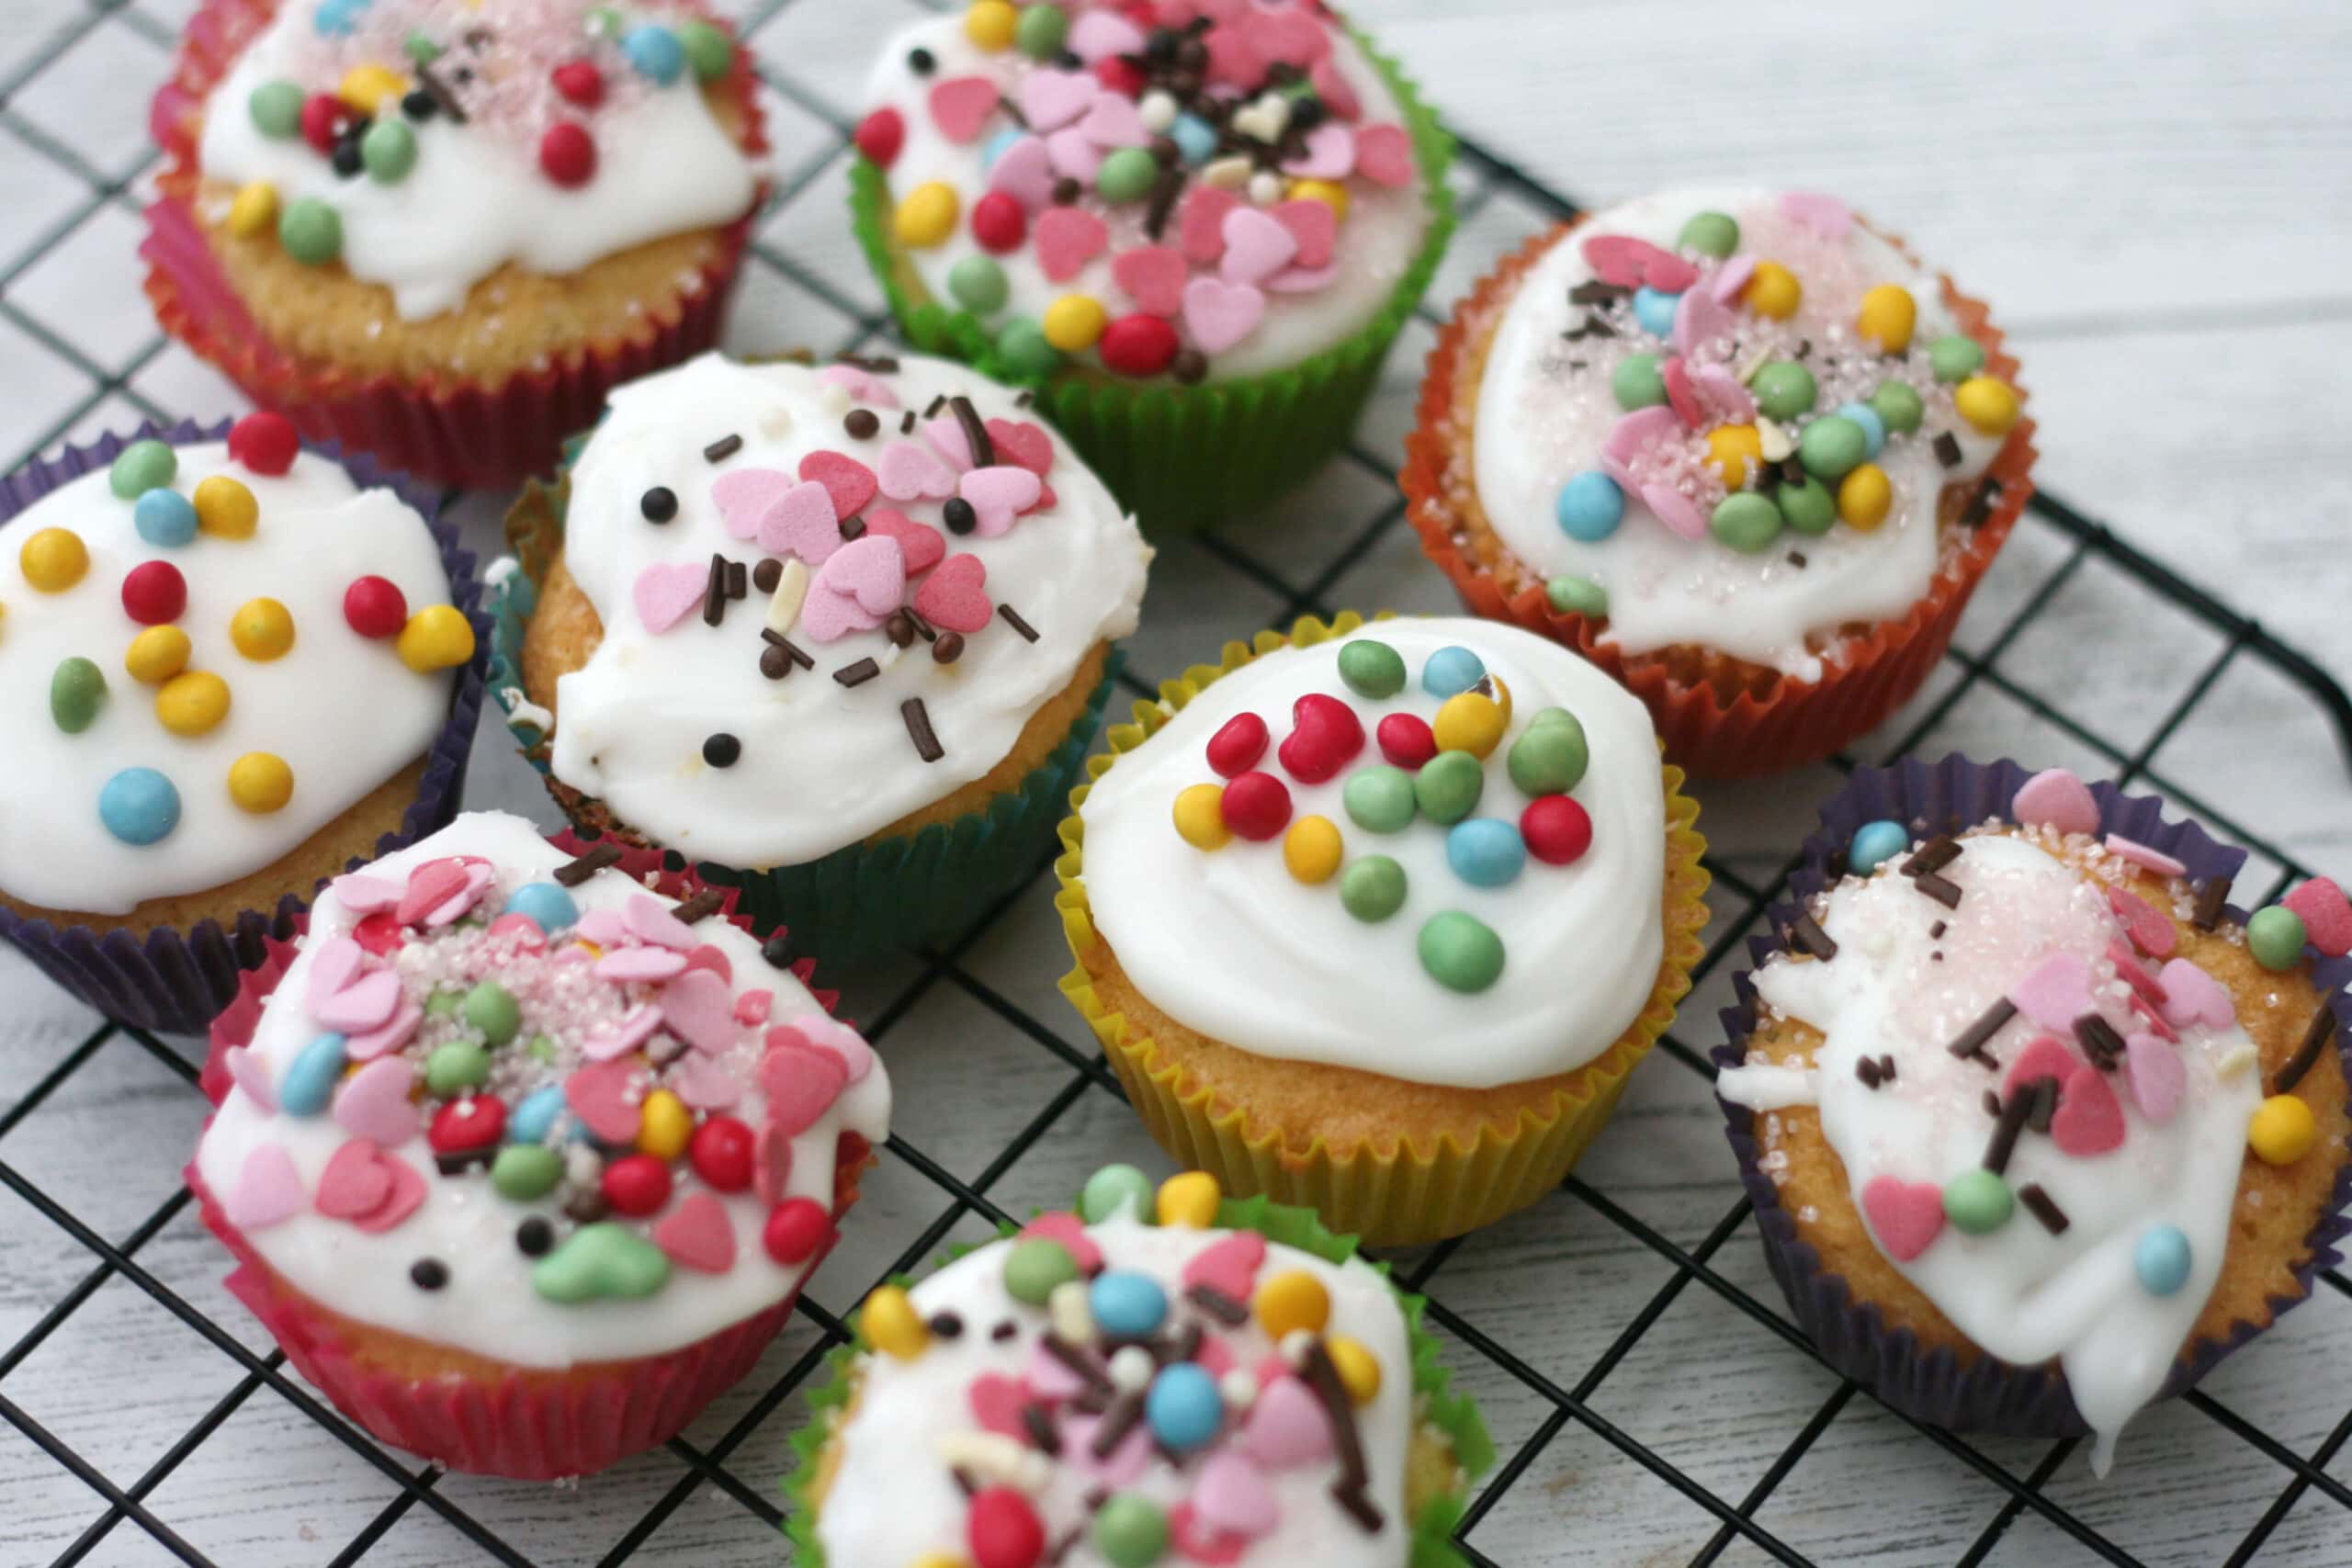
These fairy cakes from Mary Berry are a kids classic. Simple cakes with icing and sprinkles, young children and toddlers will love making and eating these.
These easy fairy cakes from Mary Berry are a timeless classic that children of all ages will love to bake.
Nothing reminds of baking as a child in quite the same way as these little cupcakes topped with icing and sprinkles. Now i’ve got my own children to bake with, I know why they are so popular. What’s not to love – a simple little cake with a bit of colour, easy icing and sprinkles on top. They’re everything my kids love in a bake.
They’re a great bake for kids who want to get their hands messy in the kitchen. Even if you’ve never baked before, you can’t really go wrong with these little cakes. They’re even perfect for children’s parties or cake sales. And with different seasonal sprinkles or toppers you can make them for any occaision – Christmas, Easter or Halloween to name a few.
Fairy cakes vs cupcakes?
What’s the difference between fairy cakes and cupcakes? Well, fairy cakes are normally a little bit smaller than cupcakes. You’ll find a different set of smaller cases for them in your supermarket. But size doesn’t really matter, so you can make these the same size as regular cupcakes if you’ve already got the cases in the house.
And while cupcakes normally have a bit swirl of butter icing on top, fairy cakes are traditionally decorated with some plain icing and a few sprinkles.
Fairy cakes rather than cupcakes were the bake of my childhood, although both are delicious in their own ways.
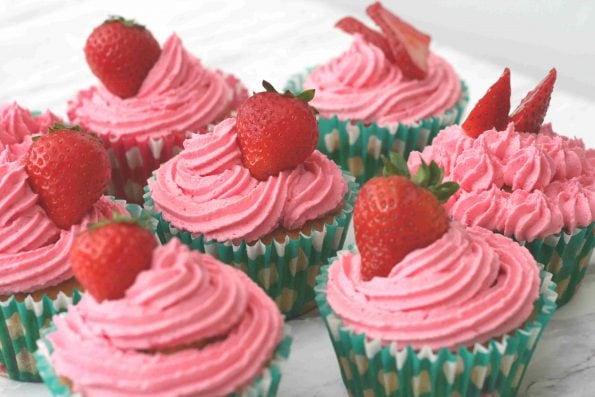
If you want to compare for yourself, why not try our easy cupcake recipe for kids.
How can kids help make these Mary Berry Fairy cakes?
This fairy cake recipe is so easy making it perfect for children to help with.
As with all our easy cupcake recipes, you mix all the ingredients together in one bowl. That means kids can add everything to your mixing bowl in any order. It also means less washing up for you to do!
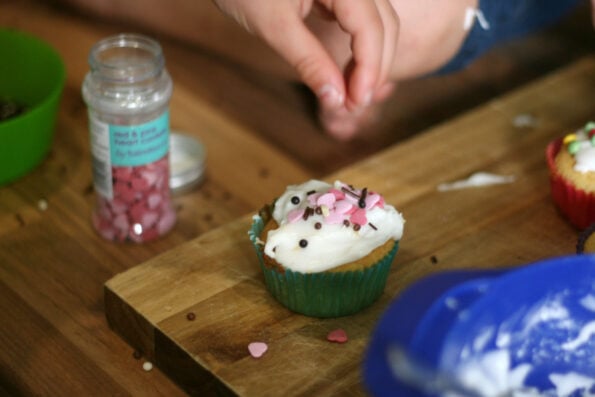
The best part of this bake for my kids was getting to decorate them. If you have very young children, they’ll enjoy getting to do this even if they don’t make the fairy cakes themselves. There’s no need to pipe anything on to the little cakes. Spooning on the icing makes it a really simple job even very young children will enjoy.
If you can, put some sprinkles in a small bowl before you add them to the icing. It’ll remove the temptation for your kids just to tip them out of the tub straight on to the fairy cakes which can get a bit messy!
What can I use instead of self raising flour?
If you don’t have self raising flour, swap it for an equal amount of plain or all-purpose flour and put in an extra teaspoon of baking powder.
What is baking spread/baking margarine?
Baking spread, (things like Stork), is just a non dairy margarine that’s perfect for baking. It makes cupcakes and cakes lighter and fluffier than butter, which means it’s a great, cheaper alternative.
How long do these fairy cakes keep?
These simple fairy cakes will keep in an airtight container for a few days. If you want to make them in advance or keep them a little bit longer, you can freeze them before you’ve added the icing. Simply wrap them well or pop them in a freezer bag and they’ll keep in the freezer for a few months. Defrost them fully before adding the icing.
Can I ammend the quantities?
Yes. The quantities we’ve listed in the ingredients will make 12 small fairy cakes. If you want to make more, of if you have the larger cupcake cases and still want 12 fairy cakes, use 3 eggs and 150g of the butter, flour and sugar.
Other fun cupcakes for kids
If you and your kids love making cupcakes, check out some of our other easy cupcake recipes below:
Chocolate butterfly cakes
Chocolate cupcakes
Funfetti cupcakes
Butterfly cupcakes
Rainbow cupcakes
Monster cupcakes
Raspberry cupcakes
Ice cream cone cupcakes
Eton mess cupcakes
Victoria sponge cupcakes
Victoria sponge traybake
Tottenham cake
White chocolate cupcakes
Blueberry cupcakes
Useful equipment
You might need the following baking tools/gadgets to make these easy fairy cakes:
Digital scales
Freestanding mixer
Mixing bowl
Measuring cups
Measuring spoons
Piping bag
Muffin tin
Fairy cake cases
Wire rack
As an Amazon Associate I earn from qualifying purchases.. You will not be charged anything extra for this. Please refer to my Privacy Policy Page for more details.
Difficulty: Easy
Serves: 12
Time: 30 minutes + 20 minutes baking
Ingredients
100g (½ cup or 1 stick) butter or margarine
100g (½ cup) caster sugar
100g (¾ cup) self raising flour*
1 tsp baking powder
2 eggs
For the icing
225g (1 cup) icing sugar
A few tbsp water
Sprinkles
*If you don’t have any self raising flour, use plain or all-purpse flour and add an extra ¾ tsp of baking powder.
How to make Mary Berry’s fairy cakes
Preheat your oven to 200C/160C Fan / 390F.
Get your kids to line a muffin tin with 12 fairy cake cases. If you only have larger cupcake cases, don’t worry, use them but know you won’t get 12 cakes out of the mixture unless you ammend the quantities as we’ve outlined above.
Mix all the ingredients together
Get your kids to measure out all the ingredients and add them to a mixing bowl or freesttanding mixer.
Start with the butter. Using a blunt knife, chop the butter into small pieces to make it easier to mix. If it’s not soft (we always forget to take it out the fridge), pop it in the microwave for a few seconds, but not long enough to melt it. If you’re using baking spread or margarine you can add it straight in.
Next, measure out the sugar and flour and add it to your mixing bowl.
Get your kids to measure the baking powder out, and use their finger to level it off. If they are old enough, they should be able to do this themselves, otherwise you could hold the tub while they measure it or vice versa.
Finally add the eggs. Get your kids to break the eggs into a small bowl first before adding it to your mixing bowl, just in case any shell goes in. If any shell does go in, simply use a larger bit of shell to fish it out – shell sticks to shell better than your finger.
Add the eggs to your mixing bowl.
Using the k padding of your mixer, a hand held mixer or wooden spoons, mix everything together until you have a smooth batter. Don’t over mix it, just mix it for a minute or so until everything has come together. You might need to get your kids to scrape down the sides of the bowl with a spatula to make sure there’s no flour stuck at the bottom of the bowl.
Bake your fairy cakes
Get your kids to spoon the cake batter into your cases. Fill them up about ¾ full.
If you’ve got an ice cream scoop they can sometimes dish out the perfect amount of batter, with a less mess. If you don’t have one, try soup or dessert spoons instead. Make sure they the batter is nice and evenly distributed so they bake evenly.
Bake the fairy cakes for 15-20 minutes. They’re ready when they’ve risen and turned golden brown. You can double check by inserting a skewer or tooth pick in – it should come out clean if it’s cooked. If there is any batter stuck on the cocktail stick, pop them back in the oven for another minute or so.
Remove the cakes from the oven and leave them in the tin for a few minutes to cool before removing them and leaving them to cool on a wire rack completely.
Ice the fairy cakes
Measure out the icing sugar then add a few spoons of water. Mix it together until it’s smooth. You don’t want the icing to be too runny otherwise it will run off the fairy cakes. If it is too runny, add a little more icing sugar to stiffen it up. Likewise if it is too stiff and add a drop or two more water.
We kept our icing white, but if you like you could add a bit of colour to your icing or separate the icing into different bowls and do more than one colour.
Using a teaspoon, get your kids to spread some icing over the top of each fairy cake, then add some sprinkles on top.

To make adding sprinkles a little less messy, I find it helps to pour some into a small bowl first.
Serve and enjoy.
Mary Berry fairy cakes
Ingredients
Method
- Preheat your oven to 220C/180F / 390F
- Line a muffin tin with 12 fairy cake cases. If you only have larger cupcake cases, don't worry, use them but know you won't get 12 cakes out of the mixture.
- Measure out all the ingredients and add them to a mixing bowl or freesttanding mixer.
- Start with the butter. If it's not soft (we always forget to take it out the fridge), pop it in the microwave for a few seconds, but not long enough to melt it. Using a blunt knife, chop the butter into small pieces to make it easier to mix.
- Next, measure out the sugar, flour and baking powder and add them to your mixing bowl.
- Add the eggs to your mixing bowl.
- Using the k padding of your mixer, a hand held mixer or wooden spoons, mix everything together until you have a smooth batter. Don't over mix it.
- Spoon the cake batter into your cases. Fill them up about ¾ full.
- Bake the fairy cakes for 15-20 minutes. They're ready when they've risen and turned golden brown. You can double check by inserting a skewer or tooth pick in – it should come out clean if it's cooked.
- Remove the cakes from the oven and leave them in the tin for a few minutes to cool before removing them and leaving them to cool on a wire rack completely.
- Measure out the icing sugar then add a few spoons of water. Mix it together until it's smooth. You don't want the icing to be too runny otherwise it will run off the fairy cakes. If it is too runny, add a little more icing sugar to stiffen it up. Likewise if it is too stiff and add a drop or two more water.
- Using a teaspoon, spread some icing over the top of each fairy cake, then add some sprinkles on top.
Notes
Pin it for later
If you liked these Mary Berry fairy cakes, you’ll love our butterfly cakes, our rainbow cupcakes, school cake and our favourite easy bakes for kids.
This post was first published in August 2020 and updated with new pictures in June 2022.






Leave a Reply